


Building a Kinect 360 SLS Camera – SLS Camera Build Revisited
So it’s been a while since we posted one of our most popular posts, building an SLS Camera. We wanted to build a less expensive, lighter weight version.
THIS IS ONLY FOR BUILDING AN SLS USING AN XBOX KINECT 360.
What we are sacrificing –
Screen Size – Going with a smaller Physical tablet
Run Time – Smaller Power Bank to reduce weight also results in a shorter run time.
Recording Space – going with a lower capacity tablet, it will not have the same amount of storage space to hold recordings.
A little bit of durability and stability – We are removing the Lexan/Plexi Glass from the design to make it a bit more light weight and more compact.
Here’s what you NEED – In General
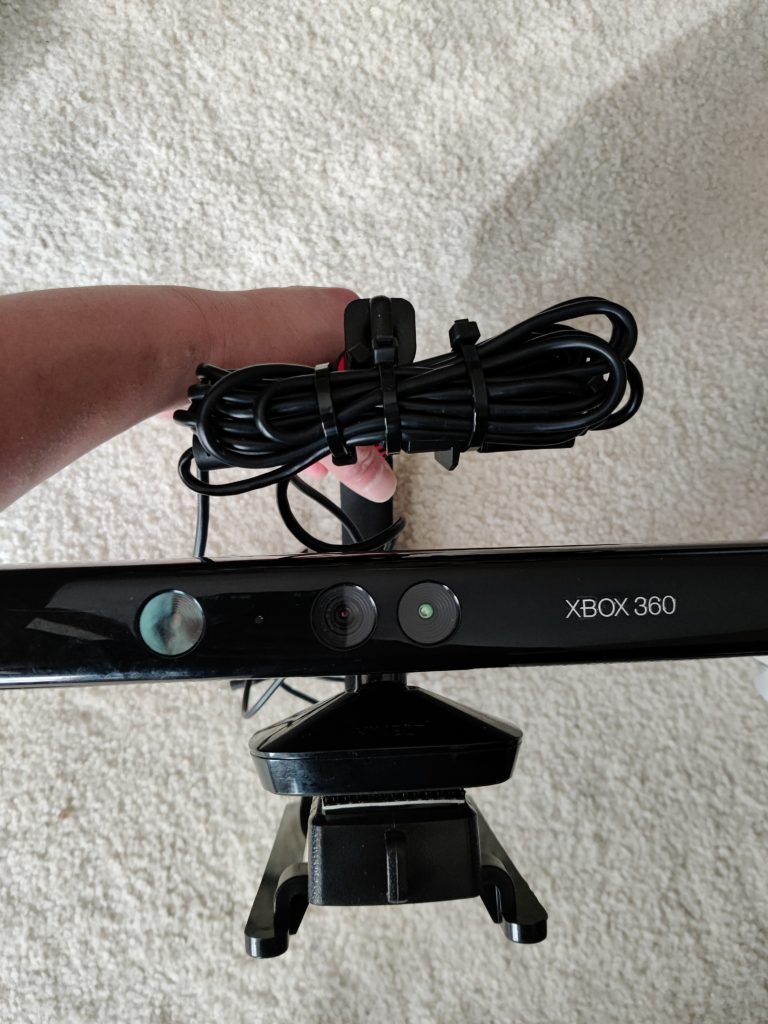
1x XBox 360 Kinect Sensor Bar – The Actual SLS Camera – (EBay $14 – $25)
1x UURig R010 Clamp Mount for Power Bank – This will be used to hold the battery to the Stabilizer. (Amazon $21.95)
1x Zeadio Tablet Smartphone Tripod Mount Holder (Amazon $14.99)
1x XBox 360 Kinect Power Adapter – This will be cut and the DC power pigtail will be attached to power the Kinect Camera. (Amazon $12.99)
1x Zeadio Video Action Stabilizing Handle Grip Handheld Stabilizer with Hot-Shoe Mount This is what everything will be mounted on. (Amazon $17.99)
1x DC Power Pigtail Male (12v) This is what will be used to connect the Kinect Camera to the battery. (10 Male/10 Female pack Amazon $9.99)
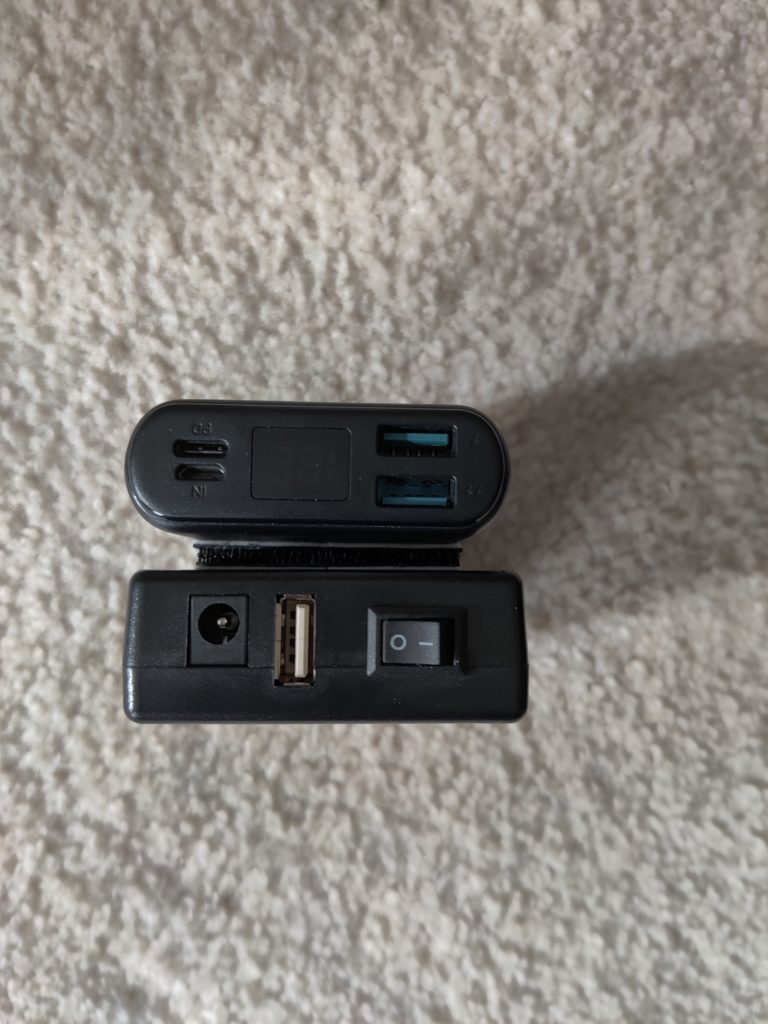
1x TalentCell Rechargeable 12V 3000mAh Lithium ion Battery Pack – 12v Battery pack used to power the camera. (Amazon 25.99)
1x 3M Dual Lock Reclosable Fasteners Heavy Duty/Industrial (or similar) – This will be used to mount the Kinect to the Stabilizer as well as used to attach the two battery packs together so they can be mounted on the stabilizer. The Industrial Strength one is needed because of the required holding strength. (Home Depot/Lowes/Home Improvement store. Prices vary).
1x Zip Ties – Needed to keep the spaghetti of wires from becoming unmanageable. (Home Depot/Lowes/Home Improvement store. Prices vary.)
1x Gorilla Glue or Similar (may or may not be needed) – Since the platform we are going to be sticking the Kinect Camera to with Dual Lock fastener has rubber on it, a high strength adhesive like Gorilla Glue may be needed to secure the camera to the stabilizer. We opted for Gorilla Glue.
Here’s the Tablet we went with and the items we used to make this particular tablet work. These items will be variable and dependent on the tablet you use.
1x Windows 10 Tablet. Our Latest Build we used HP Pro Tablet 608 G1 1.44GHz 4GB 64GB 7.86″ Touchscreen Win 10 WiFi – The Main tablet (EBay refurbished $89.00)
1x 18w 10,000Mah Portable Power Bank – A battery pack to help keep the tablet from losing power too quickly. This isn’t needed, but the tablet will run out of power without this very quickly. (Amazon $29.99)
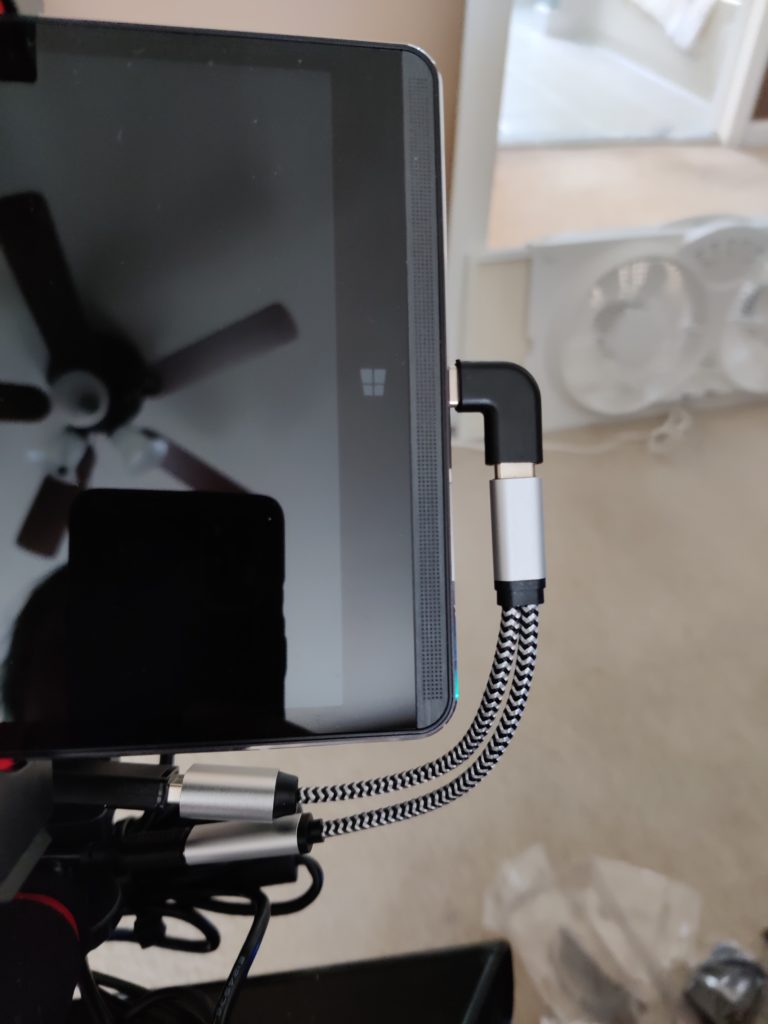
1x USB-C OTG with Charging Port – This allows the tablet to be charged and the SLS Camera to be connected to the tablet using the single USB-C connection this particular tablet has. (Amazon $11.99)
1x Cellularize Right Angle USB C Adapter (Amazon $6.99 for 2)
The Software needed:
Windows 10 Installed on the tablet.
Visual Redistributable C++ Visual Studio 2012 Link
Kinect SDK 1.8V Link
Kinect Developer Tools 1.8V Link
Microsoft Game Bar (Comes preinstalled with Windows 10)
Getting the software ready. Hopefully the tablet was factory rest if you bought it used, or fresh out of the package. This tablet comes out of the Box set to tablet mode. You may be comfortable with Windows Tablet Mode, however we were not. Tablet mode has, in our opinion, a clumsy interface. To turn Tablet mode ON/OFF follow these instructions from Microsoft
We then let windows install ALL it’s updates. This took a quite a while (several hours) and at times, like any other windows update, it will look like it’s frozen. Patience is your friend here.
Using Microsoft Edge Web Browser (yes yes we know), we navigated to our previous install guide and used the links above to download the software we needed. Installing them in the exact order we have them listed above.
(Videos at end of this post showing the downloading and installing of the software)
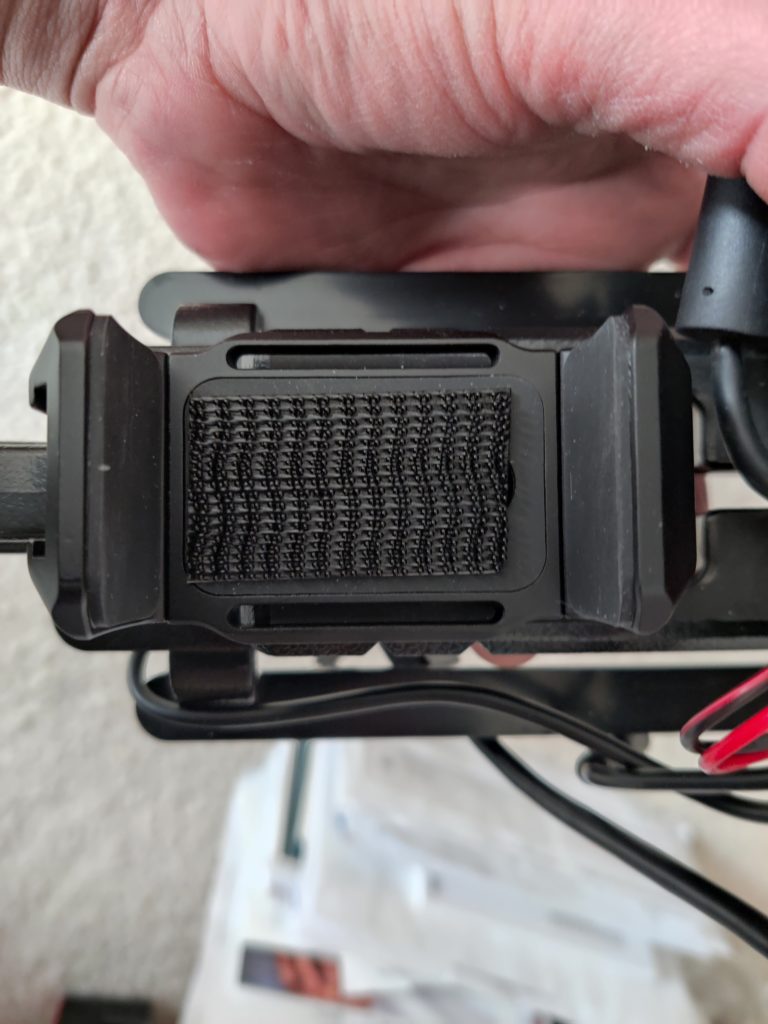
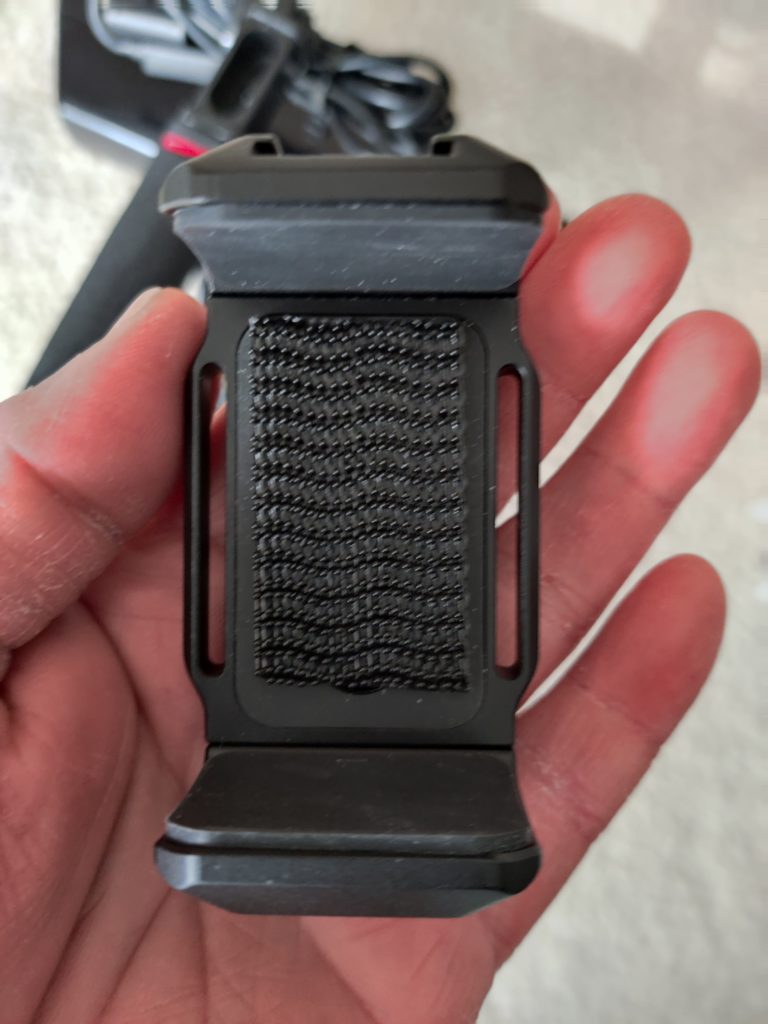
This particular stabilizer comes with 2 universal camera mounts installed in the base and cold shoe installed on the top of the handle. We only need 1 of the universal mounts in the base, and will be using the second universal mount in place of the cold shoe on the top. You can if you want use the cold shoe to mount a tablet using additional “Tripod to Cold Shoe adapter” Removing the 4 screws on the base will allow you to then take off the bottom plate. You can then remove the the extra universal camera mount and then put the bottom plate back on.

We attached the 3M Dual lock to the Stabilizer, and found that the adhesive wasn’t able to grab onto the rubber of the stabilizer as well as we wanted. We then in turn used Gorilla Glue to give it a stronger hold. We let this cure for almost 12 hours before moving on.
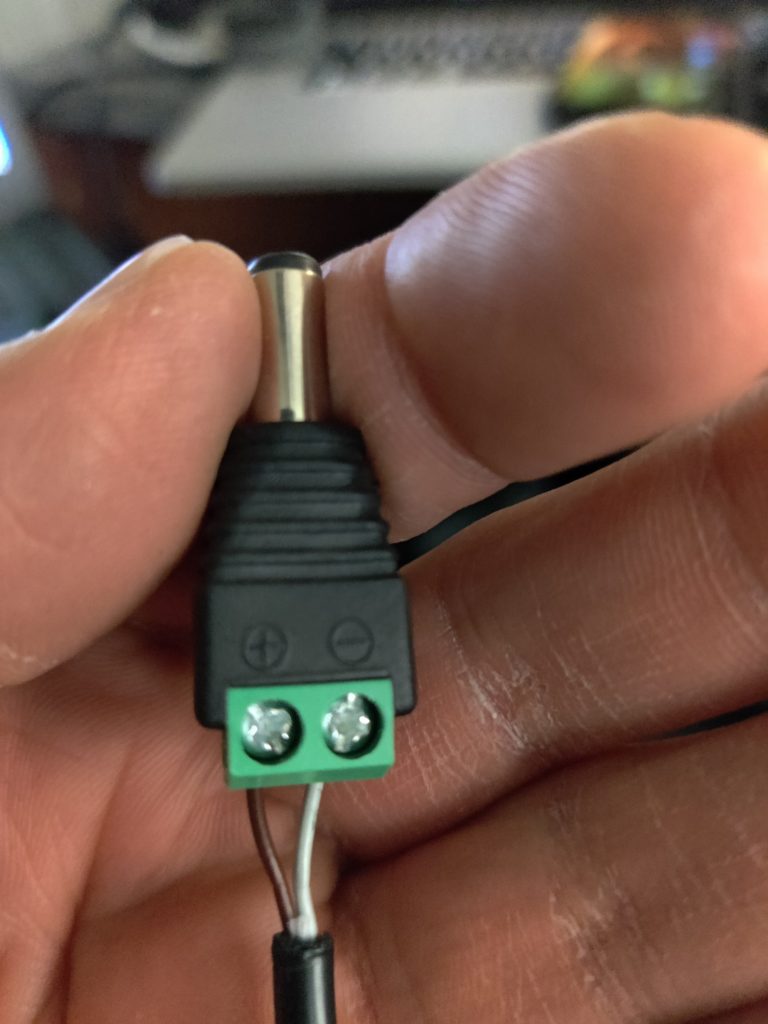
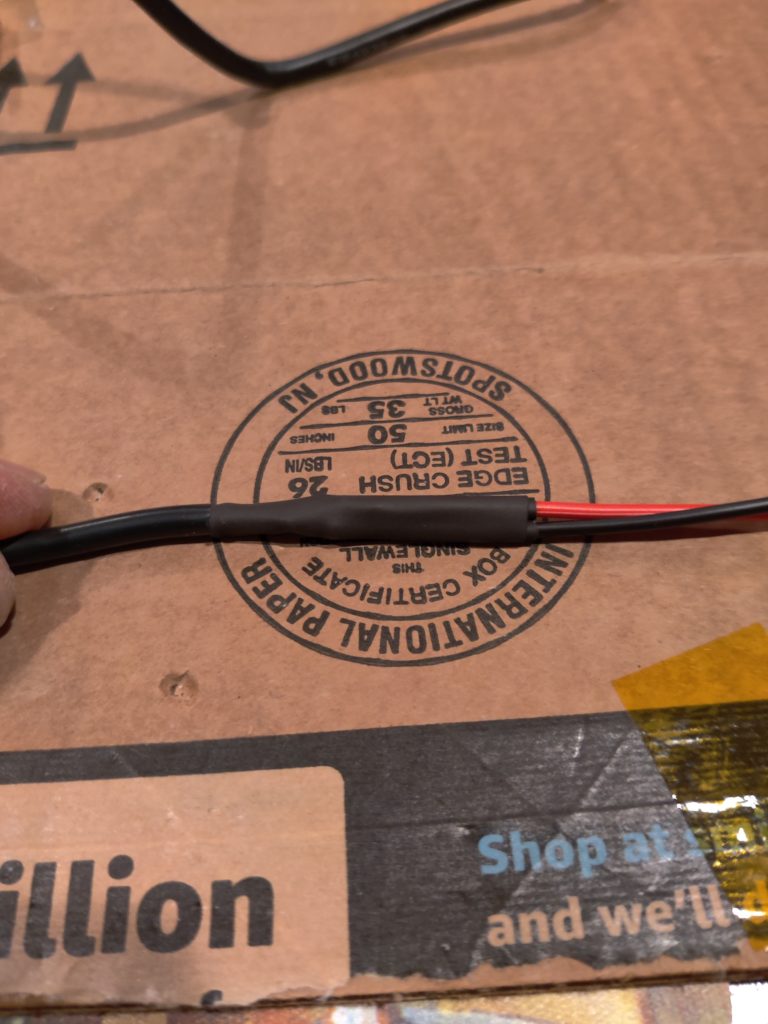
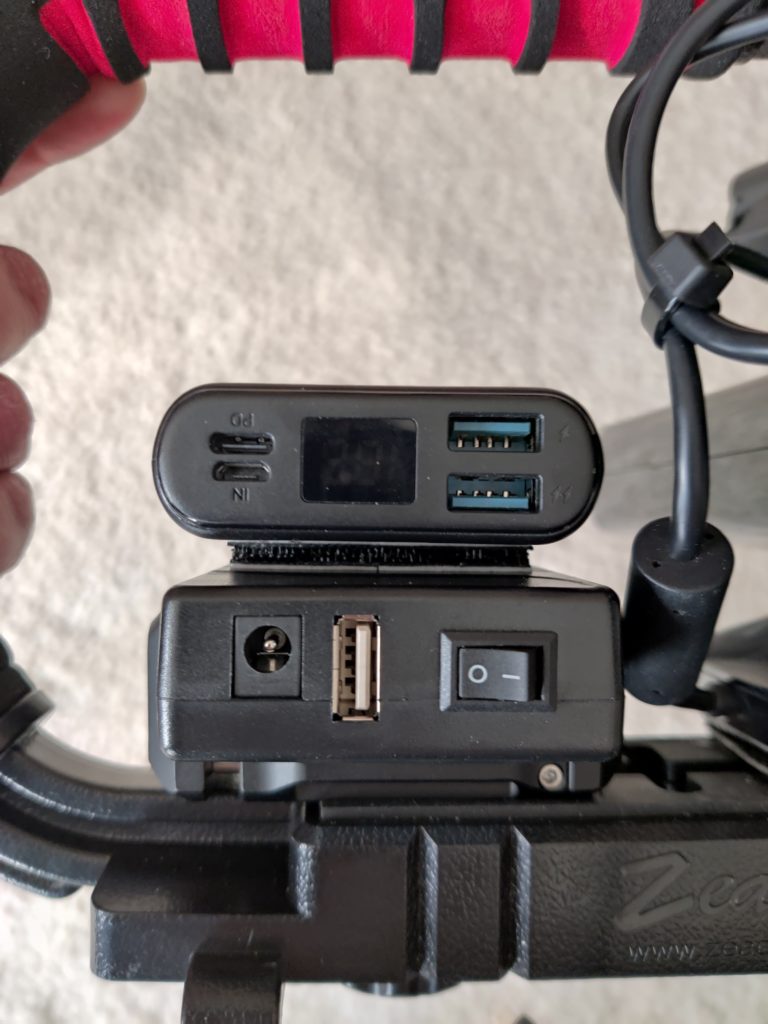
While that was curing, we moved onto the power adapter. we cut the power adapter for the XBox 360 Camera off and using one of the screw down terminals tested the wire to see which way we had to connect the wires. This particular power cable had Brown and White for the power wires. Since the general rule of thumb is White/Black/Gray is negative, any other color is positive that’s how we tried our connection, and that turned out be correct. We then soldered up the pigtail wire and used heat shrink tubing to protect the connections. Plugged it into the Talent Cell battery Pack and checked again see if the power LED would light up.

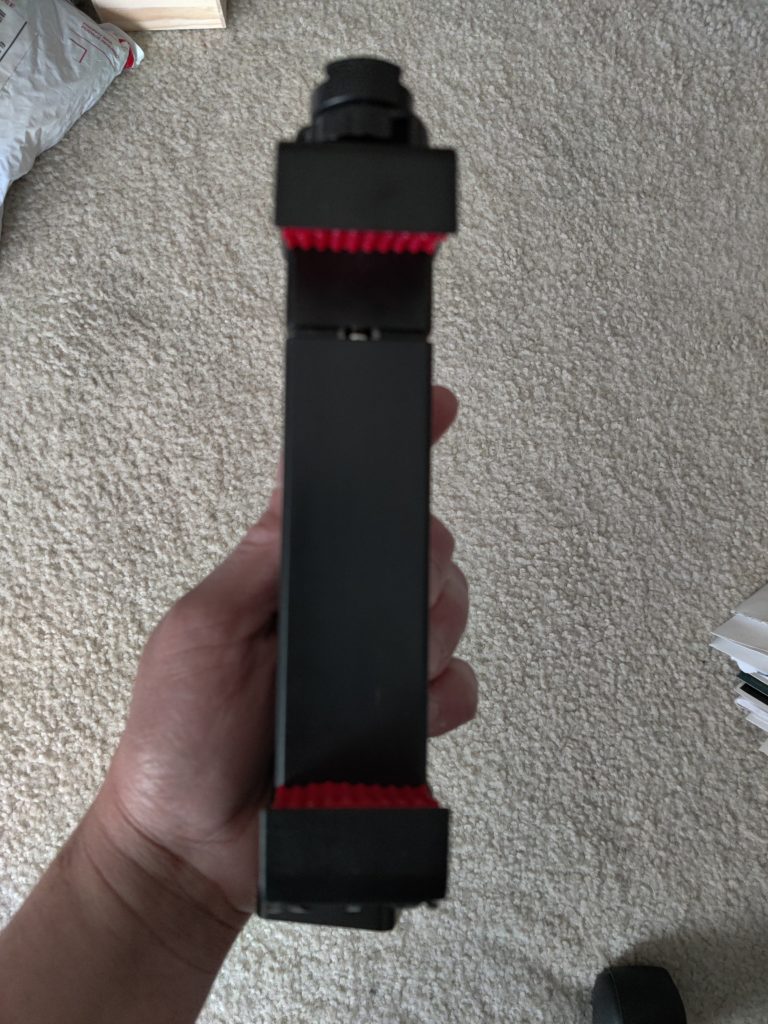
With the power wired up now we attached the Kinect 360 SLS camera to the stabilizer. We removed the cold shoe, and rolled up our wires and secured them using zip ties.

We added some 3M Dual Lock to our Power Bank Clamp Mount. We could have skipped the clamp mount and just used the Dual Lock, but due to the weight and the shifting these are going to be doing we wanted to have something a little more secure. After all we are going to have two different battery packs attached to each other.
We attach it to the stabilizer using the universal mount we left attached to it.
We attach the battery packs together using the 3M Dual Locks. and install them in the clamp mount. Note the WOFLA battery pack is upside down. This is intentional, as there’s a “power button” on the bottom of the pack.
We add our tablet mount using the Universal mount we took from the stabilizer and attached the tablet, wire up the OTG cable, the 90 degree USB-C adapter, and plug everything in.
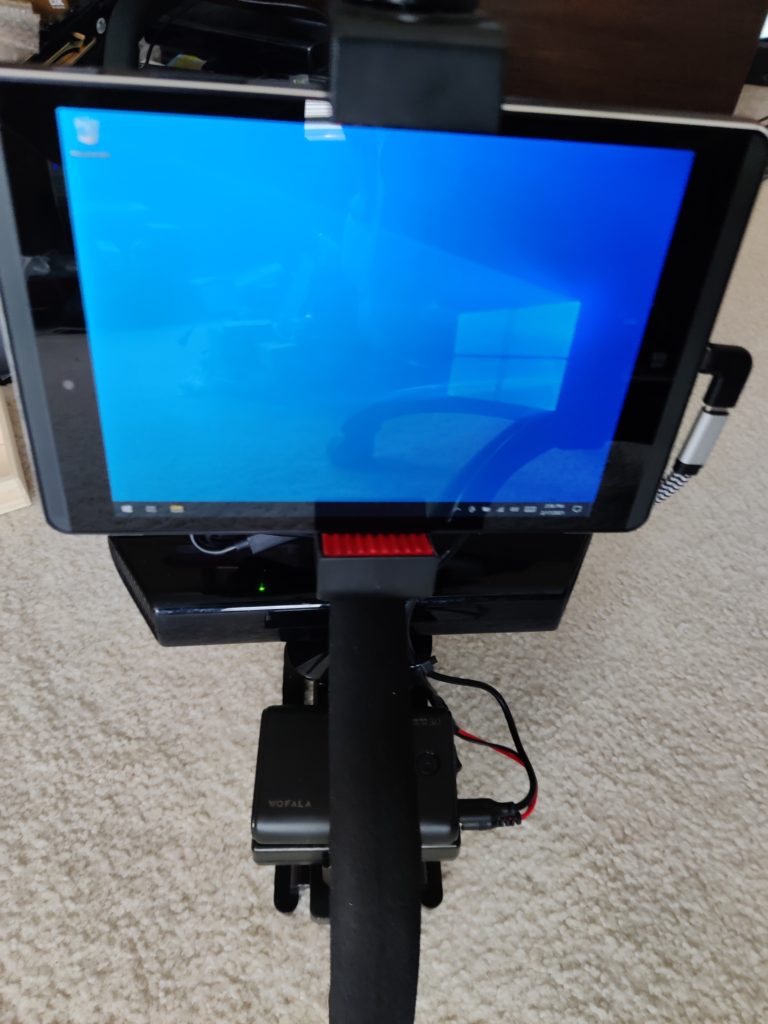
Now that everything is connected and powered on, we fire up the software and take it for a test. Note I copied the shortcut for the developers toolkit to the desk to make easy to find.
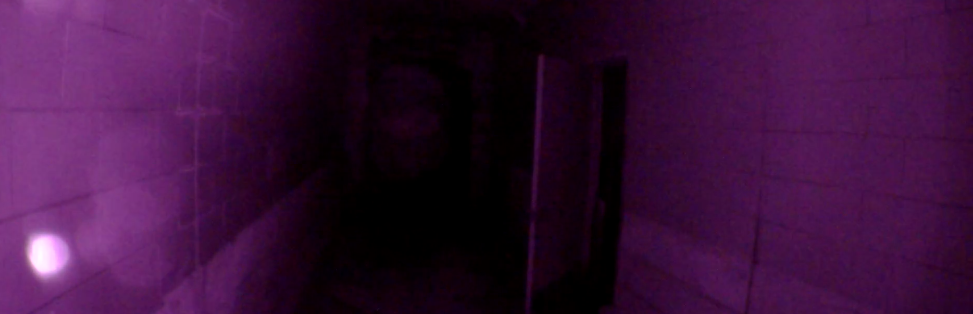
Note I used APowersoft’s screen recording software to record the screen. When it comes time to actually use this in the field, I will be using Microsoft Gamebar to record the screen. Gamebar can only record the current window, and would not have recorded everything. Note what we are using for the actual SLS session is the Direct Explorer-D2D
Videos Downloading and installing the software:
For some reason the screen recording software cut out when it came to installing the Visual C++ Redistribute. It was just a straight forward run the file that was downloaded install.
Downloading the Software:
Installing the SDK (Note the pause between trying to launch the software and it starting the install. On these tablets it can take a minute or two to start the installation):
Installing the Dev Tools and Kinect Explorer-D2D (Note the pause between trying to launch the software and it starting the install. On these tablets it can take a minute or two to start the installation):