


Building a Windows 10 SLS Camera – Part 2 (Some Assembly Required)
We bought a spare power adapter so we would not be cutting into our original one which seemed like a prudent idea. Unfortunately I didn’t take pictures of this portion.
The Kinect camera connects to an orange female plug.
That splits off to the AC Adapter on one side, and a USB connection on other side.
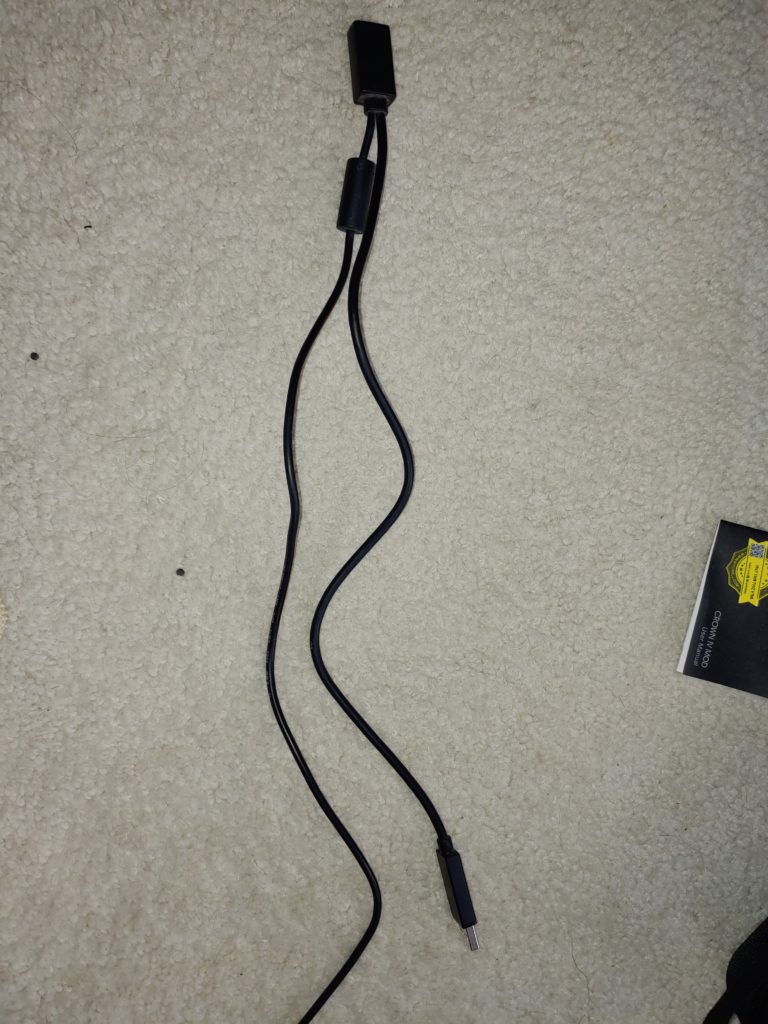
We measured the USB wire, and cut the AC adapter side to be close to the same length.
Stripping the cut side, since this was a 3rd party adapter, there was a black and a yellow wire. Using the male side of the barrel connector pigtail wires, we attached the black to black and the red to the yellow. This will plug into the 12v connector of the battery pack.
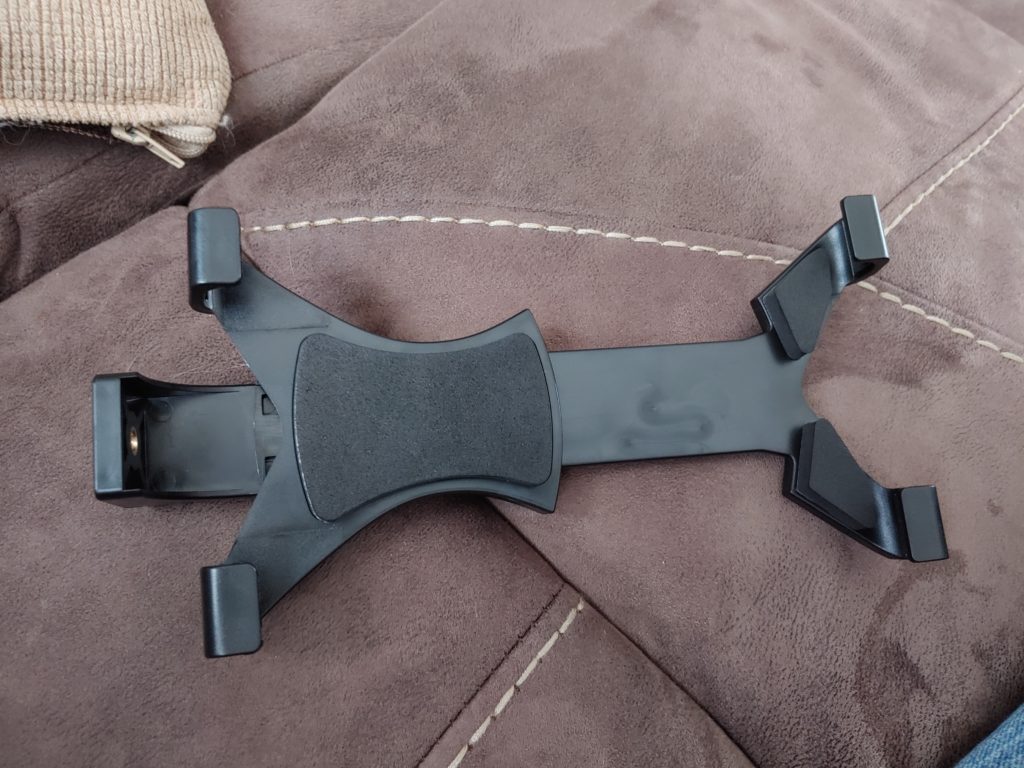
Taking the dual tripod bracket, and the Tablet Tripod mount we attached the two of them together and removed the extra tripod camera connector.
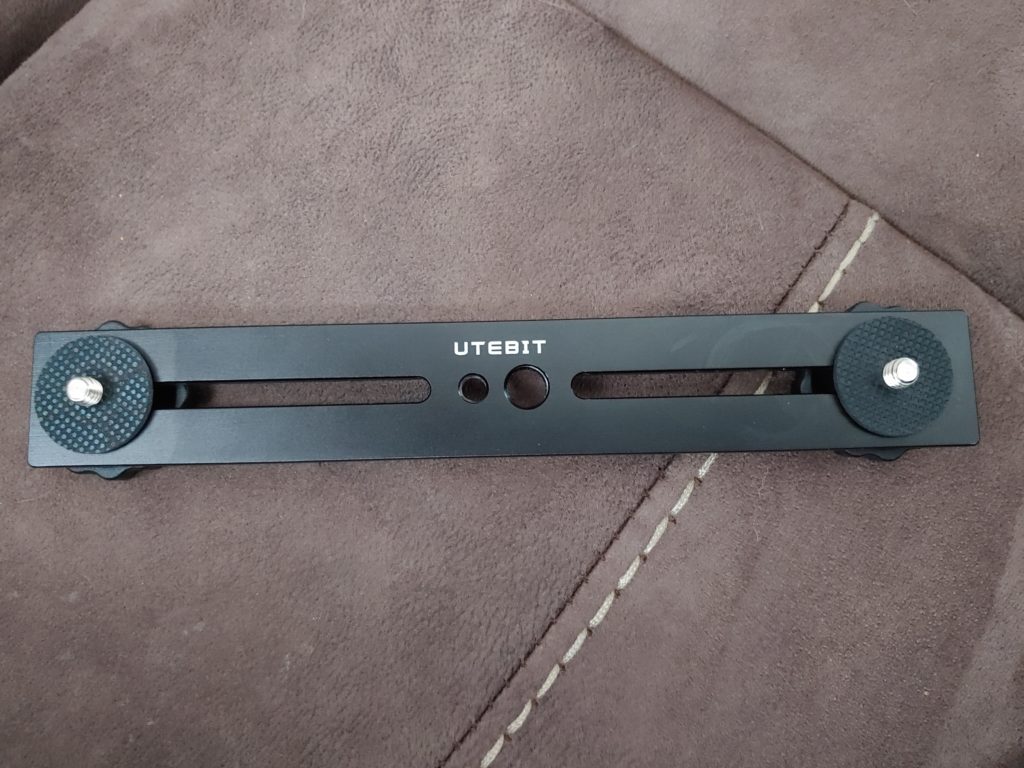
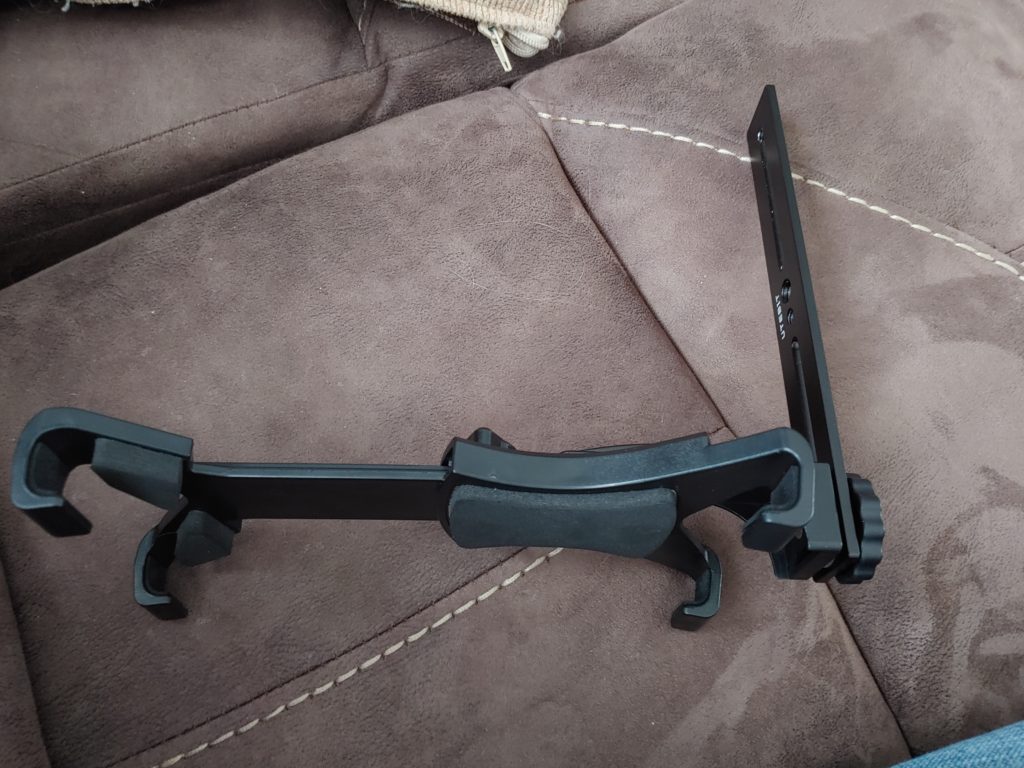
We glued together the two sheets of Lexan and drilled holes for attaching The lexan to the dual tripod mount. Note The small hole in the dual tripod mount in the center is for a camera mount screw from a tripod. We put a hole in the lexan so a longer tripod mount screw could come through and not crack the Lexan. then used 2 screws to secure the lexan to the dual mount.
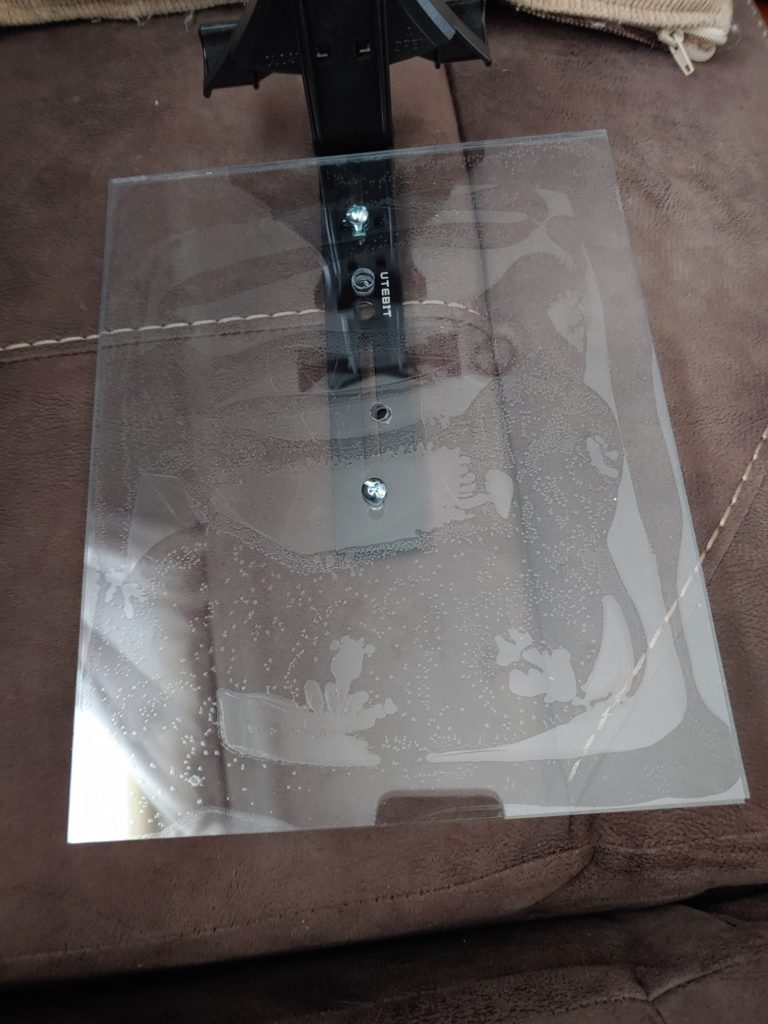
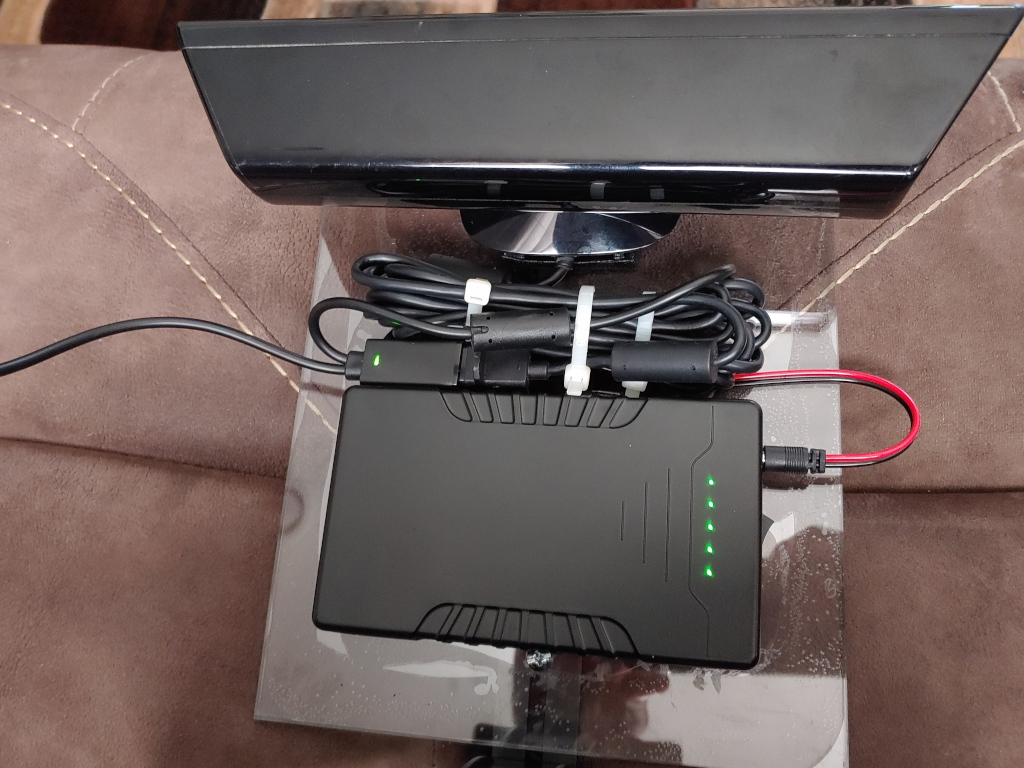
Using Velcro we attached the Kinect 360 and the Battery to the Lexan plate.
We went this route because the Kinect 360’s base has a motor in it to allow you to adjust the angle of the camera. This now allows us to place the entire rig down and adjust the angle of the camera using the software and not worry about breaking the base’s motor or gears.
The battery actually covers the tripod screw hole, the Velcro creates quite a bit of space between the battery and the screw hole to allow for a longish tripod screw.

Put the tablet in the tablet mount, and attach the USB wire to the Tablet’s USB port.


We now put our second rechargeable battery pack on top of the first using Velcro. We positioned it so that we could still see the lights from the battery pack which powers the Kinect.
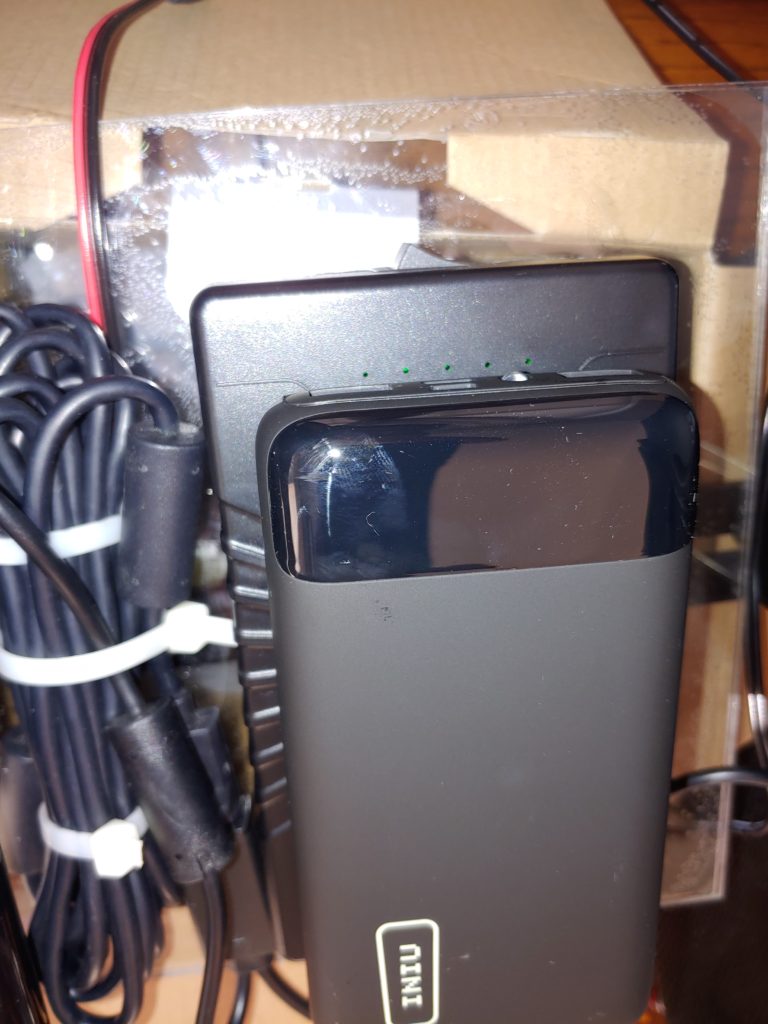
The addition of the second pack is to provide supplemental power to the tablet via the tablet’s micro USB port.
Something to note, the tablet will be drawing more power then it can pull from the battery pack so the tablet’s battery will still continue to drain, just slower.
The big battery drain is going to be caused by the Microsoft Game Bar screen recording. Many SLS builds recommend using a camera to record your SLS screen because of this. We wanted to make this entire rig as self contained as possible.
You need the following software: (The links are accurate as of the time of this writing).
Visual Redistributable C++ Visual Studio 2012 Link
Kinect SDK 1.8V Link
Kinect Developer Tools 1.8V Link
Install the software with the Kinect disconnected and install them in the order listed above. Once the software is installed, connect the Kinect to the tablet’s USB port.
Launch the Developers Tools Browser (Should be in your start menu now). Look for the Kinect Explorer-D2D and install. This will download the program to your Tablet. Then tap run. (Note you will do this each time you want to start the SLS camera).

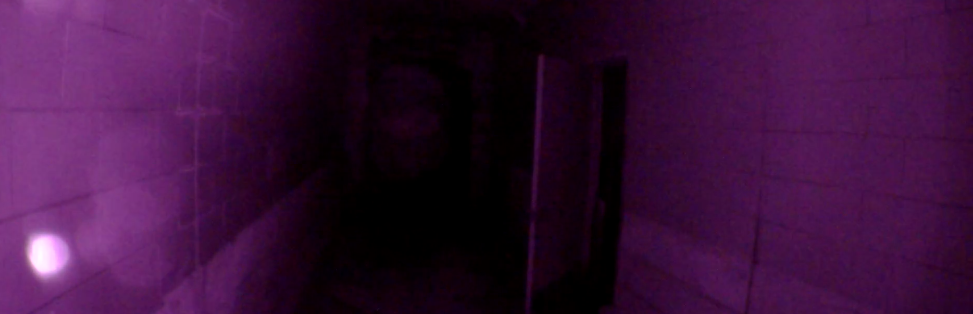
Everything looks good. We let it run, started Game Bar to see how long it would be able to record.
We were able to achieve almost 4 hours of continuous use even with screen recording. It’s important to note you never want the tablet to drain 100% while recording. If the Tablet goes dead, you will lose your recording.
The Battery packs held up quite well.
Part 3 Finishing Touches.
https://www.jott-nyx-nj.com/index.php/2020/08/13/building-a-windows-10-sls-camera-part-3-finishing-touches/